OBS Studio เป็นซอฟต์แวร์โอเพนซอร์สที่ช่วยให้ผู้ใช้สตรีมเกมหรือหน้าจอได้อย่างมืออาชีพ มีแพลตฟอร์มสำหรับทั้งระบบปฏิบัติการ macOS และ Windows OBS มักใช้โดยนักเล่นเกมระดับไฮเอนด์ที่ต้องการควบคุมการแชร์หน้าจอมากกว่าเมื่อเทียบกับซอฟต์แวร์บันทึกหน้าจอทั่วไป
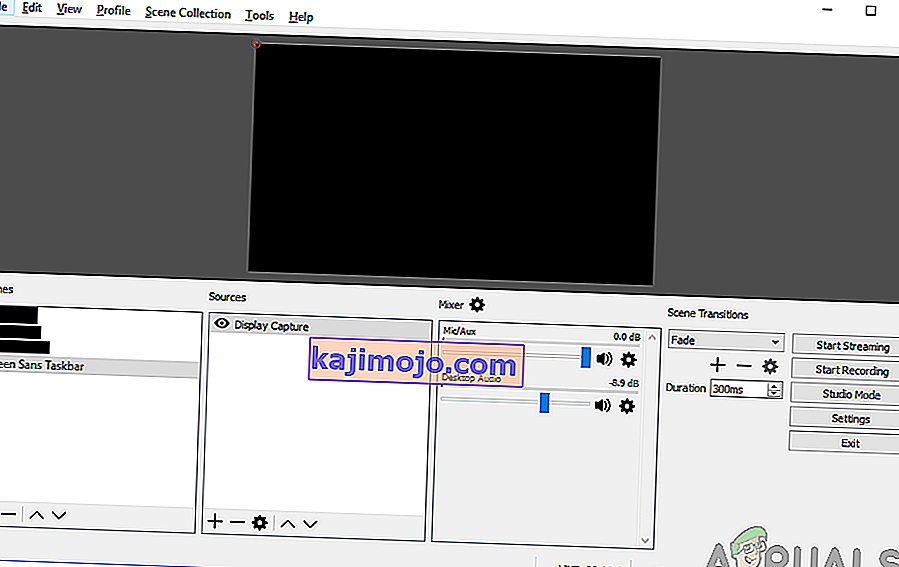
ปัญหาได้รบกวน OBS มาระยะหนึ่งแล้วโดยที่ผู้ใช้พบว่า 'หน้าจอสีดำ' เมื่อพยายามแชร์หน้าจอออนไลน์ ปัญหานี้ส่วนใหญ่พบในแพลตฟอร์มและระบบ Windows ซึ่งมีตัวเลือกกราฟิกสองแบบคือเฉพาะและรวมทั้งสองอย่าง ในบทความนี้เราจะดูวิธีแก้ปัญหาทั้งหมดว่าทำไมปัญหานี้จึงเกิดขึ้นและขั้นตอนในการแก้ไขคืออะไร
อะไรเป็นสาเหตุของ Black Screen ใน OBS Studio
เราทำการสำรวจอย่างละเอียดและวิเคราะห์กรณีผู้ใช้ทั้งหมดที่เกิดหน้าจอดำเมื่อสตรีมโดยใช้ OBS จากการวิเคราะห์ของเราเราพบผู้กระทำผิดหลายอย่างซึ่งอาจเป็นสาเหตุของปัญหา บางส่วนมีการระบุไว้ที่นี่:
- การรบกวนกราฟิกเฉพาะ:เมื่อใดก็ตามที่คุณเริ่มแอพพลิเคชั่นหรือเกมใด ๆ ระบบปฏิบัติการจะต้องตัดสินใจว่าจะจัดสรรทรัพยากรจากการ์ดแสดงผลเฉพาะหรือผ่านกราฟิกในตัวเมนบอร์ดปกติ การเลือกนี้อาจส่งผลเสียในแง่ของกลไกการทำงานและ OBS อาจไม่สามารถสตรีมได้อย่างถูกต้อง
- สิทธิ์ของผู้ดูแลระบบ:เนื่องจาก OBS กำลังแชร์ทั้งหน้าจอของคุณอาจมีบางกรณีที่คอมพิวเตอร์อาจ จำกัด การเข้าถึงและด้วยเหตุนี้จึงอาจไม่สามารถแสดงเนื้อหาของคุณได้ โดยปกติแล้วเพียงแค่เริ่มต้นแอปพลิเคชันด้วยการเข้าถึงระดับผู้ดูแลระบบจะช่วยแก้ปัญหาได้ทันที
- ความขัดแย้งในแอปพลิเคชัน 32 และ 64 บิต: OBS มีแอปพลิเคชันสองเวอร์ชันคือ 32 และ 64 บิต ควรเลือกเวอร์ชันที่ถูกต้องโดยขึ้นอยู่กับประเภทของระบบปฏิบัติการที่ติดตั้งบนคอมพิวเตอร์ของคุณ หากไม่เป็นเช่นนั้นแอปพลิเคชันจะไม่สามารถใช้งานร่วมกันได้และจะทำงานไม่ถูกต้อง
- ปัญหาความเข้ากันได้:นอกจากนี้เรายังพบหลายกรณีที่ OBS เข้ากันไม่ได้กับ windows เวอร์ชันล่าสุด ที่นี่การเริ่มแอปพลิเคชันในโหมดความเข้ากันได้บังคับให้แอปพลิเคชันเริ่มทำงานและทำงานตามที่คาดไว้
- การโอเวอร์คล็อก: การโอเวอร์คล็อกอาจเพิ่มประสิทธิภาพพีซีของคุณ แต่ก็มีผลเสียต่อแอปพลิเคชันด้วย คุณสามารถลองปิดการใช้งานการโอเวอร์คล็อกและดูว่าวิธีนี้ช่วยแก้ปัญหาได้หรือไม่
- ซอฟต์แวร์ที่ขัดแย้งกัน:อาจมีซอฟต์แวร์จับภาพอื่น ๆ ที่คล้ายกันทำงานอยู่เบื้องหลัง ซอฟต์แวร์นี้อาจขัดแย้งกับ OBS และทำให้เกิดการแย่งชิงทรัพยากรซึ่งจะทำให้ OBS ทำงานผิดพลาดและทำงานไม่ถูกต้อง
- ตัวเลือกการจับภาพ: OBS มีตัวเลือกการจับภาพหลายแบบเช่นเต็มหน้าจอหรือเฉพาะหน้าต่างเป็นต้นควรเลือกตัวเลือกที่ถูกต้องเมื่อจับภาพเนื้อหา
- พีซีอยู่ในสถานะผิดพลาด:เราไม่สามารถข้ามความเป็นไปได้ของพีซีในสถานะข้อผิดพลาด โดยปกติจะเกิดขึ้นเมื่อคุณไม่ได้ปิดคอมพิวเตอร์เป็นเวลานาน เพียงแค่ Power Cycling ช่วยแก้ปัญหาในมือได้
ตรวจสอบให้แน่ใจว่าคุณทำตามแนวทางแก้ไขจากด้านบนและดำเนินการอย่างมีประสิทธิภาพ พวกเขาเรียงลำดับในแง่ของความยากและประสิทธิภาพ ขอให้มีความสุขในการแก้ไขปัญหา!
โซลูชันที่ 1: เปิดเครื่องคอมพิวเตอร์ของคุณ
ก่อนที่เราจะเริ่มการแก้ไขปัญหาอย่างครอบคลุมการใช้พลังงานคอมพิวเตอร์ของคุณจะคุ้มค่า มีหลายกรณีที่การขี่จักรยานเพียงอย่างเดียวแก้ไขหน้าจอสีดำ OBS ได้ทันที การหมุนเวียนพลังงานเกี่ยวข้องกับการปิดคอมพิวเตอร์ของคุณอย่างสมบูรณ์และถอดแหล่งพลังงานออกด้วย สิ่งนี้บังคับให้คอมพิวเตอร์ลบการกำหนดค่าชั่วคราวทั้งหมดดังนั้นเมื่อใดก็ตามที่คุณเริ่มต้นอีกครั้งทุกอย่างจะเริ่มต้นใหม่
- ปิดคอมพิวเตอร์ของคุณอย่างถูกต้อง
- เมื่อปิดแล้วให้ถอดปลั๊กไฟออกหรือหากคุณใช้แล็ปท็อปให้ถอดแบตเตอรี่ออก
- ตอนนี้กดปุ่มเปิด / ปิดค้างไว้สองสามวินาที วิธีนี้จะช่วยให้มั่นใจได้ว่าพลังงานทั้งหมดจะถูกระบายออก
หลังจากรอ 2-4 นาทีให้เสียบปลั๊กกลับเข้าไปใหม่และตรวจสอบว่าปัญหาได้รับการแก้ไขหรือไม่
โซลูชันที่ 2: การเลือกเวอร์ชันที่ถูกต้องของ OBS Studio
OBS มักจะมาในสองเวอร์ชันคือ 32 และ 64 บิต ซอฟต์แวร์นี้จัดส่งในสองเวอร์ชันเนื่องจากระบบปฏิบัติการ Windows จัดส่งมาในสองเวอร์ชัน ความแตกต่างอย่างมากระหว่างโปรเซสเซอร์ 32 บิตและโปรเซสเซอร์ 64 บิตคือจำนวนการคำนวณต่อวินาทีที่สามารถทำได้ซึ่งมีผลต่อความเร็วในการทำงานให้เสร็จสมบูรณ์ ในโซลูชันนี้เราจะไปที่ไดเร็กทอรีการติดตั้งของ OBS และเลือกเวอร์ชันที่ถูกต้องของซอฟต์แวร์หลังจากตรวจสอบเวอร์ชันบิตของคุณ
ขั้นแรกเราจะตรวจสอบเวอร์ชันของระบบปฏิบัติการที่ติดตั้งบนคอมพิวเตอร์ของคุณ
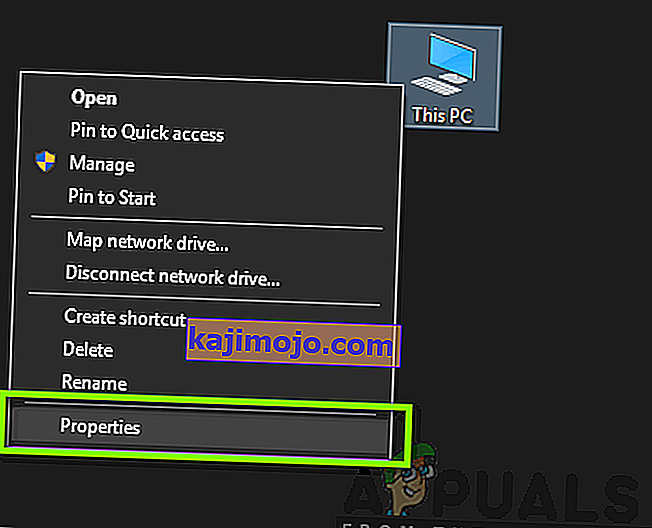
- คลิกขวาบนพีซีและเลือกProperties
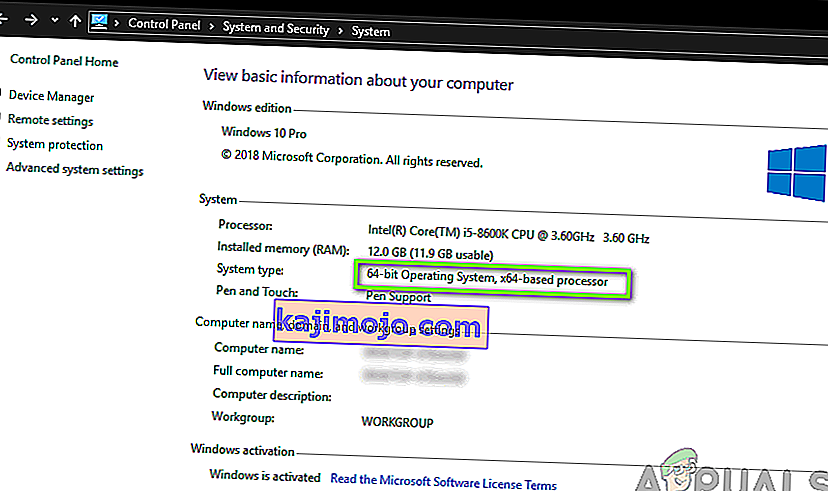
- ครั้งหนึ่งในคุณสมบัติของคอมพิวเตอร์ให้ตรวจสอบภายใต้หัวข้อย่อยของระบบและตรวจสอบชนิดในด้านหน้าของพิมพ์ระบบ จดประเภทของระบบปฏิบัติการและดำเนินการตามคำแนะนำด้านล่าง
ตอนนี้เราจะไปที่โฟลเดอร์การติดตั้งของ OBS และเปิดแอปพลิเคชันเวอร์ชันที่ถูกต้องตามสถาปัตยกรรมบิตในคอมพิวเตอร์ของคุณ
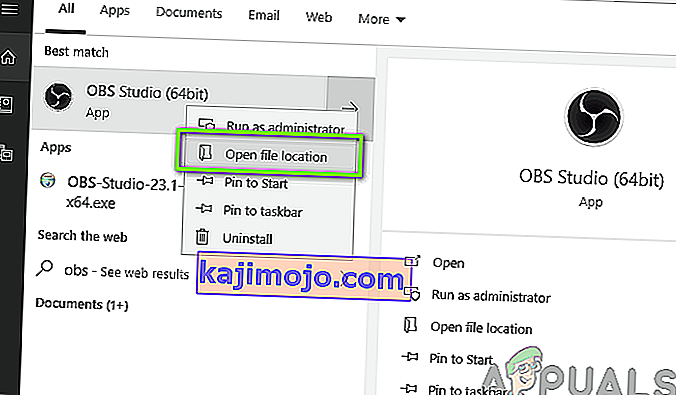
- กดWindows + Eเพื่อเปิด file explorer ตอนนี้ค้นหา OBS ในกล่องโต้ตอบและเปิดตำแหน่งไฟล์ดังที่แสดงด้านล่างในภาพ
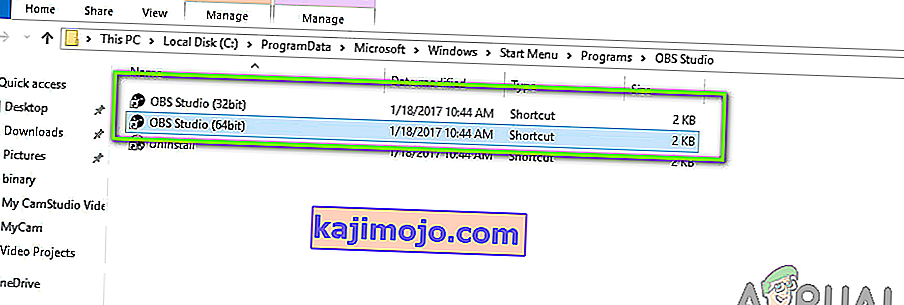
- ตอนนี้เลือกและเปิดแอปพลิเคชันเวอร์ชันที่ถูกต้องขึ้นอยู่กับเวอร์ชันบิตของระบบปฏิบัติการของคุณ ตรวจสอบว่าปัญหาได้รับการแก้ไขหรือไม่
แนวทางที่ 3: การเปลี่ยนโหมดความเข้ากันได้
เราได้รับรายงานหลากหลายของตัวเลือกโหมดความเข้ากันได้ที่มีอยู่ในแอปพลิเคชัน ตามที่ผู้ใช้บางรายแอปพลิเคชันไม่รองรับ Windows เวอร์ชันล่าสุดจึงต้องเปลี่ยนความเข้ากันได้เป็น Windows 7 ในขณะที่ผู้ใช้บางรายรายงานว่าการปิดใช้งานโหมดความเข้ากันได้จะช่วยแก้ปัญหาได้ทันที ที่นี่คุณสามารถลองทั้งสองวิธีและตรวจสอบว่าวิธีใดที่เหมาะกับคุณ หากไม่เป็นเช่นนั้นให้เปลี่ยนการตั้งค่ากลับเป็นค่าเริ่มต้นและดำเนินการแก้ไขปัญหาอื่น ๆ
- ของ Windows + S ค้นหา OBS คลิกขวาในใบสมัครและเลือกสถานที่เปิดไฟล์
- ตอนนี้คลิกขวาที่ปฏิบัติการและเลือกProperties

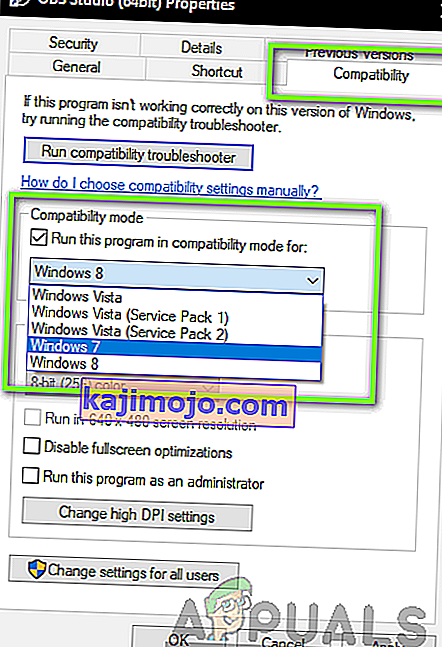
- Once in properties, select the Compatibility tab and check the option Run this program in compatibility mode for. Now you may choose Windows 7 or 8.
- Save changes and exit. Now try launching the application and see if the issue is resolved.
Solution 4: Granting Administrator Rights
Another issue for why you might not be able to stream your screen or game properly is because your application doesn’t have proper administrator privileges. Since OBS is in effect sharing all your content and computer usage online, it is essential that you have granted it administrator rights. In this solution, we will be doing that and check whether this solves the issue. Even if it doesn’t, make sure that you keep the option checked for all time.
- Navigate to OBS’s executable properties as we did in the previous solution.
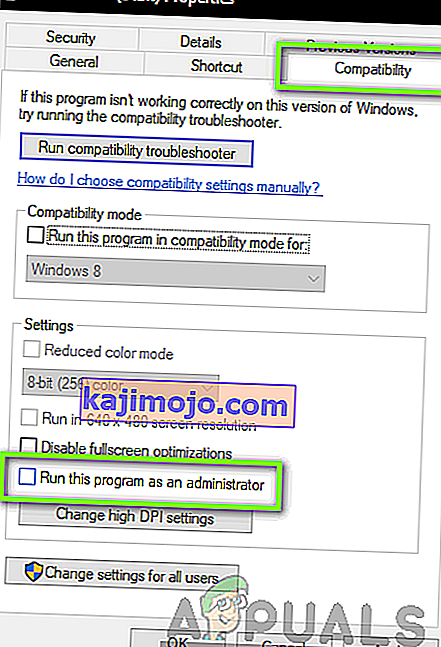
- Now click on the Compatibility tab and check the option of Run this program as an administrator.
- Apply changes and exit. Restart your computer and launch OBS again. Now check if the issue is resolved.
Solution 5: Selecting the Correct GPU for Resources
Another interesting phenomenon we came across was where not selecting the correct GPU according to the capture you are using caused several issues including the black screen. The breakdown on which GPU to select according to the display selected is as follows:
- Game capture: Dedicated graphics (NVIDIA or AMD).
- Monitor/display capture: Intel’s stock GPU
Note: This solution is only for users who have a dedicated graphics card installed on their computer.
Here we will signify the methods on how to cater to both the situations. Make sure that you follow them according to your case.
- Right-click anywhere on your screen and select NVIDIA Control Panel.
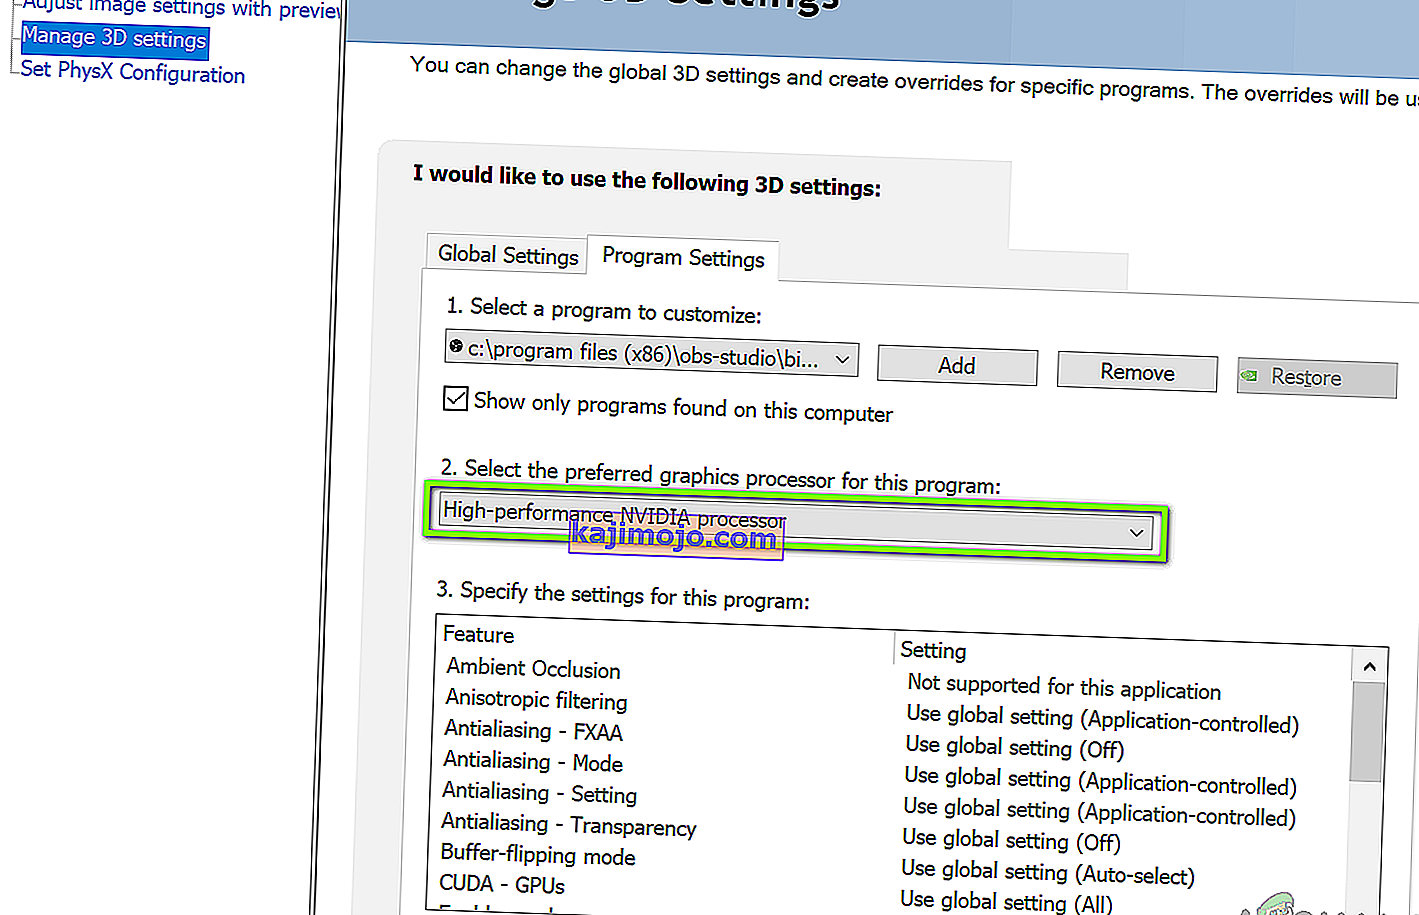
- Once in the control panel, navigate to Manage 3D settings and click on Program Settings.
- Once in program settings, select the OBS display capture. If you are not able to find the entry, click on Add and look up the software by navigating to its installation directory and selecting the executable from there.
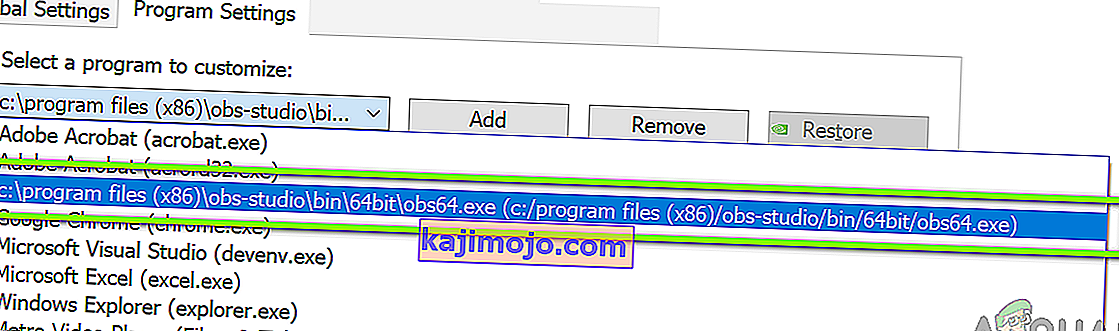
- Now according to the type of capture you are doing (game or monitor), select the correct graphics processor for the program. In the case down below, NVIDIA’s processor is selected.
- Save changes and exit. Now restart your computer and launch OBS again. Check if the black screen issue is resolved.
Solution 6: Changing Drive Permission Settings
If your OBS is installed in your primary drive (C), there are chances that probably even your user might have not have full permissions to edit and modify its contents. This is the usual case and the reason why a conventional user is not allowed access to the drive is because of security reasons because all the core operating system files are present. However, according to some user reports, changing the ownership settings of the drive solved the issue instantly. Make sure that you are logged in as an administrator before following this solution.
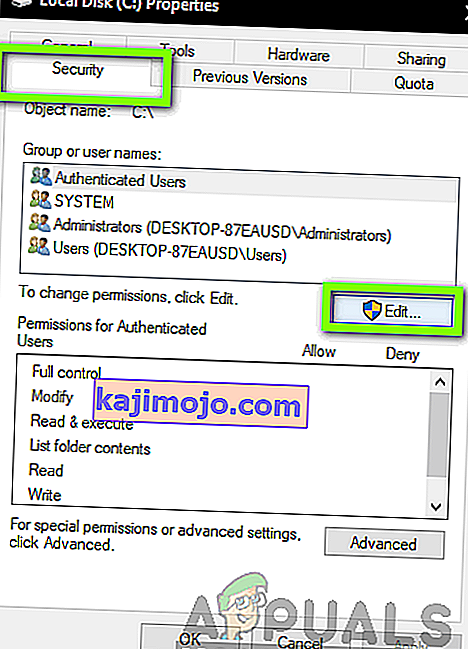
- Press Windows + E to launch the File Explorer. Now right-click on your C drive (or whichever drive is set as your main operating system disk) and select Properties.
- Select the Security tab and then click on Edit in front of permissions.
- Now select the option of Authenticated users and select the checkbox of Full control.
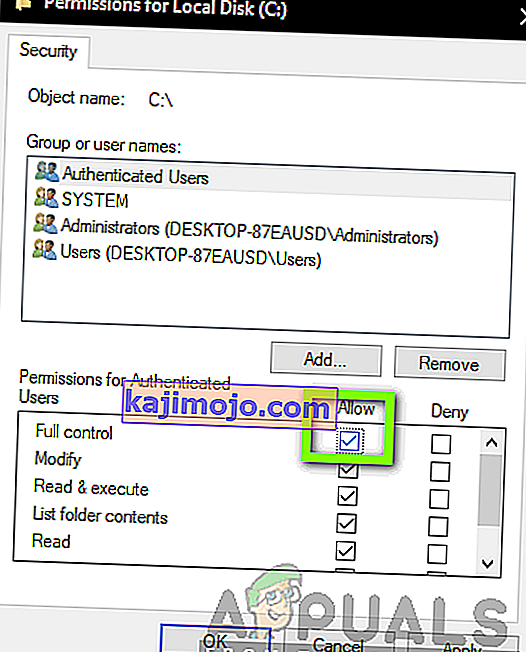
- Press Apply to save changes and exit. Restart your computer and start OBS again. Check if the issue is resolved.
Solution 7: Changing Settings of OBS
Another workaround to consider is changing some specific settings of OBS. Usually, OBS allows users to set the configurations according to their own preferences or will. However, in some cases, the custom settings might conflict with the software and cause the black screen. Here we have listed down some of the changes in settings that you have to do in order for OBS to run in optimal settings.
Mode: *Select according to your preference* Screen: *Select according to your game* Priority: *Usually the default one suffices* Sli/crossfire: Check (You can also try unchecking this one later) Force scaling: Uncheck Transparency: Uncheck Framerate lock: Uncheck Record cursor: Check Anti-cheat: Uncheck Overlays: Uncheck
After you have made changes to the settings of OBS, restart it and check if you can stream your screen/games properly without any issues.
Note: You can also change the mode from “Capture any fullscreen application” to “Capture specific window“.
Solution 8: Enabling Multi-adapter compatibility
OBS has a setting of Multi-adapter compatibility which is meant for computers involving SLI or Crossfire technology. SLI/Crossfire is technologies by NVIDIA/AMD which allows users to connect two graphics cards instead of one and utilize them both in your gameplay or applications. Enabling this feature seemed to have fixed the issue of black screen in OBS instantly.
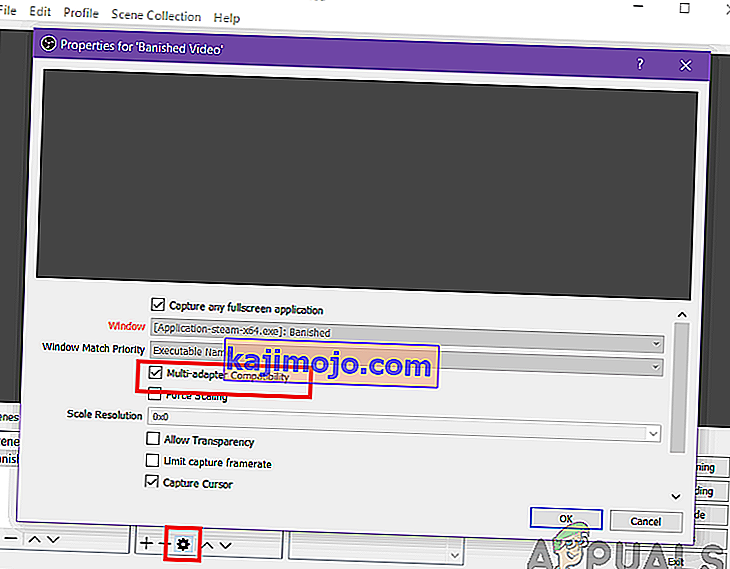
The funny thing is that this fixed the black screen in computers that don’t even have SLI/Crossfire technology installed. To conclude, we can safely say this is a bug in OBS and you have to enable multi-adapter compatibility whether or not you have SLI/Crossfire. You can easily enable this option by selecting the stream and clicking on the gears icon. A new window will pop up from where you can check the option.
Solution 9: Disabling Overclocking
Overclocking allows you to increase the clock rate of your processor until it reaches the threshold temperature set by the manufacturer. Once it reaches the temperature, the clock speed returns back to default so it is cooled down. After it reaches the optimal temperature, its clock speed is increased again and the cycle continues. Overclocking allows users to have better framerates and performance but they aren’t without their share of issues.
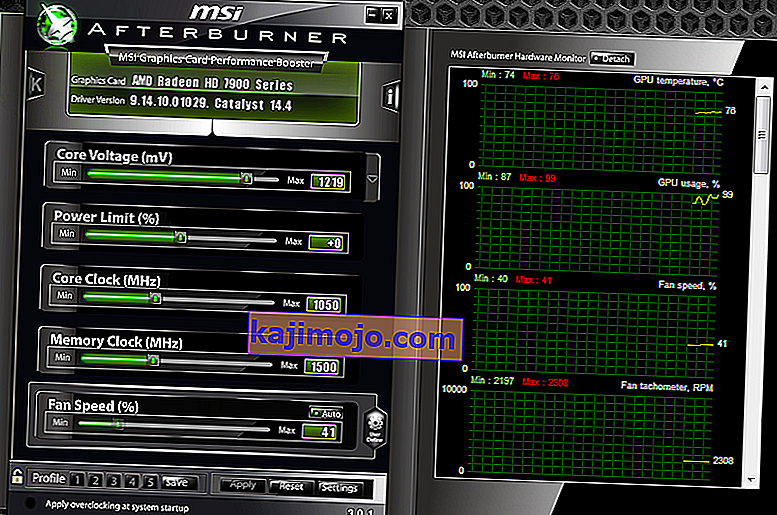
We observed that PCs that had overclocking enabled were having the black screen issue in OBS. You should try disabling overclocking and also overclocking related software such as MSI Afterburner and try launching OBS again. If the black screen issue is resolved, consider disabling overclocking for good whenever you are using OBS.
Note: Also try disabling Overlay from GeForce Experience and Windows game bar features. Take into account any additional software features which may provide additional controls over games or video.
Solution 10: Checking for conflicting software
Another reason why you might be experiencing the black screen on your OBS software is that you have additional software running in the background which is also related to screen capture and video recording. This is a very common scenario for users where they ‘think’ that the other third-party software is not running but in reality, it is in the background. In this solution, we will go through all the different software installed on your computer and uninstall all extra software which might be causing the issue.
- Press Windows + R, type “appwiz.cpl” in the dialogue box and press Enter.
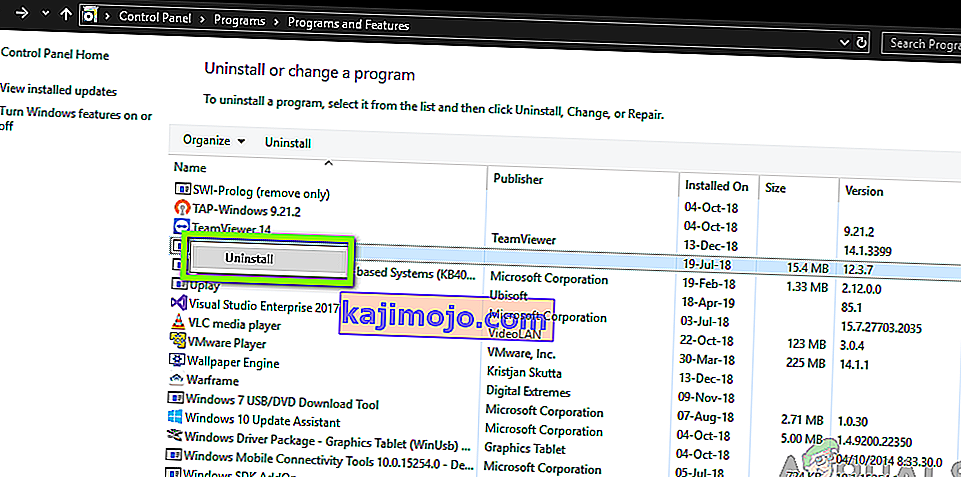
- Once in the application manager, search for any recording software which you might have installed on your computer. Right-click on it and select Uninstall.
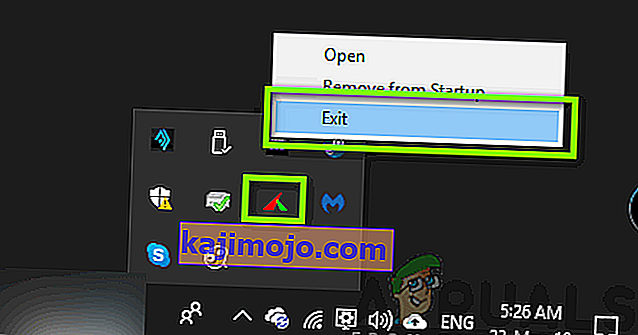
- You should also check your taskbar for any extra applications running in the background. Right-click on each entry and exit the application.
- After you are absolutely sure that no program is running the background, run OBS again and check if the issue is resolved.
Solution 11: Reinstalling the application
If all the above methods don’t work and you are still unable to stream your game/screen successfully using OBS, you should consider reinstalling the application entirely. It is possible that you have a corrupt/outdated copy with issues with several modules. All your preset configurations will be lost during this solution so make sure that you have saved all the work that you need.
- Press Windows + R, type “appwiz.cpl” in the dialogue box and press Enter.
- Once in the application manager, search for OBS, right-click on it and select Uninstall.
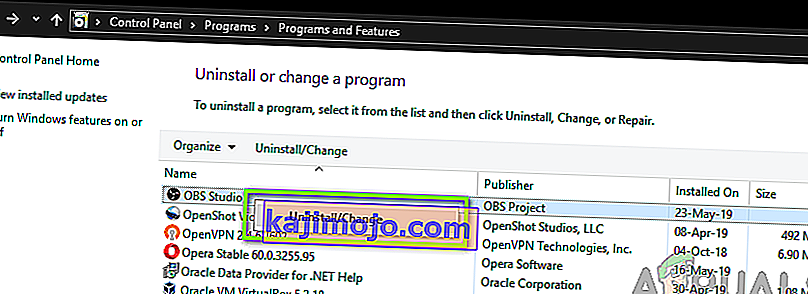
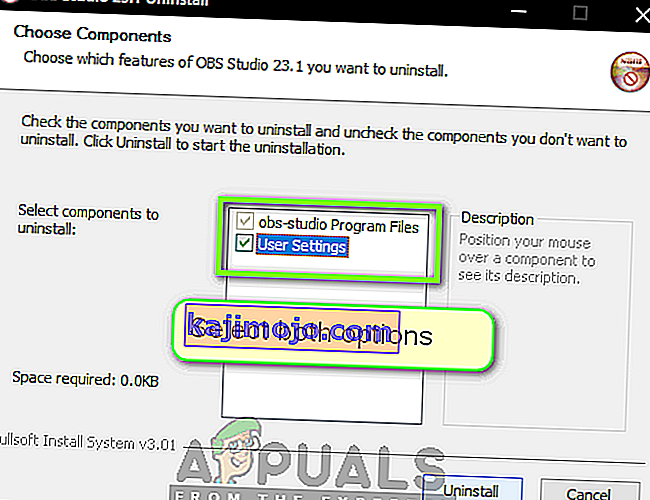
- Select both options (one of them will be preselected) and click on Uninstall.
- Restart your computer. Now navigate to OBS Studio’s official website and download the latest version from there. Install it and check if the issue persists in the fresh copy.